Creating a User's Profile
Administrators can create user profiles for users and other administrators and assigned them to various or specific site levels.
For example, a Florida regional manager (administrator) creates a new administrative user (district manager) to manage the southern Florida sites The regional manager creates a user profile for the regional manager, giving him administrative rights, but restricts his access to only the southeast locations in lieu of all Florida stores.
To create a user:
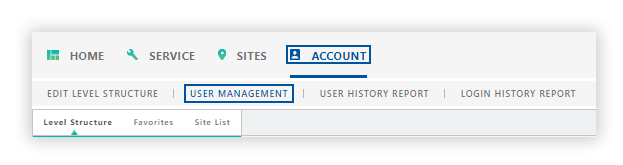
- Click the Account tab from the navigation bar.
- Click User Management.
Then, follow these steps:
-
Click Create User from the User Profile panel.
-
Once you determine the site level you want to give the user access to, select the desired site level/site from the Level Structure panel, and click Add.
- The site level appears in the Assign Level(s) field.
- To remove a site level, select the site and click Remove.
- To remove all site levels in the Assign Level(s) field, click Remove All.
- Enter the User ID you want to use for the new user in the Email Address/User ID: field. User IDs must be an email address.
-
Enter the user's name in the First Name and Last Name fields.
-
Select the desired user type from the User Type drop-down list. For more information, see About Account and User Types.
-
Optional. Enter the department and user's title in the Department and Title fields.
-
Enter the user's email address in the Email Address1: field.
-
The user's email address is used to send alerts and email notifications that are setup in DataSource.
-
-
Enter the user's phone number in the Phone Number1: field.
-
The user's phone number is related to the user; not a site.
-
-
Select the desired status for the user in the Status field.
-
Active indicates the user is enabled.
-
Inactive indicates a disabled status.
-
-
Place Systems on Test - Select this setting to give the user access to place systems (to site levels they are assigned to) on-test.
-
Click Next.
-
Enter a password for the user in the Password field. Re-enter the password in the Confirm Password field.
-
Click Submit to complete creating the user's profile, click Back to return to the previous screen, or click Cancel to cancel creating the user's profile.
The User created successfully message appears, showing the newly created user's information in the User Profile panel.