Level Structure Tab Overview
The Level Structure tab is a component of the Level Structure panel, and displays your sites hierarchy. Use this window to navigate to the desired site levels you want. Once you expand to a site level, it represents the physical location of the site.
Note: You can find the Level Structure panel in the Activity, Service, Inventory, Sites, and Account sections.
Selecting a Level
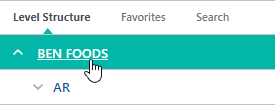
1. To select a level, you need to click directly on the name of that level. The selected item's background changes to show selection. If you are on a dashboard page (Activity or Service), Dashboard charts and graphs will populate data based on your level selection in the Level Structure panel.
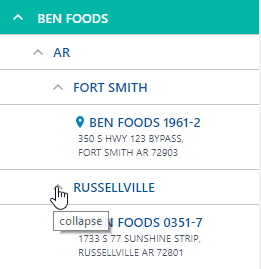
2. You can expand the nested sublevels and sites using the Expand ![]() icon. If the desired level is not shown in the level structure, continue to expand the levels until you have reached the site. You can also collapse the site levels using the Collapse
icon. If the desired level is not shown in the level structure, continue to expand the levels until you have reached the site. You can also collapse the site levels using the Collapse ![]() icon.
icon.
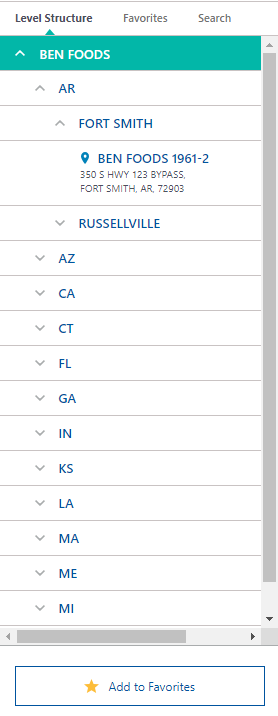
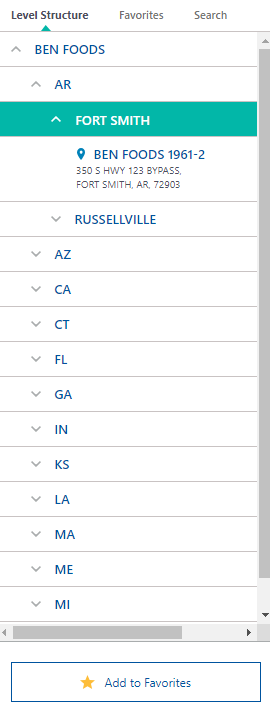
The following level structure example displays the company's name, showing the state, city and then site levels (store locations). The company administrator can choose to customize their level structure in a way that best makes sense within their organizational hierarchy (ex. regions, coasts, districts)
Parent Level
Any level that does not have a site address is considered a parent, or nested grouping.
Non-Site "Parent" Levels can be nested several layers deep. Any parent level selected will include the data from all of the nested layers in that grouping.
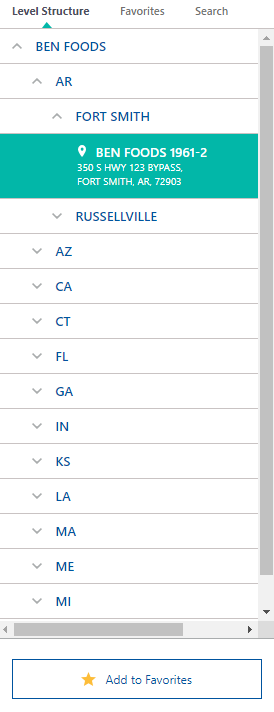
Site Level
Site levels denote specific store locations. They cannot be nested and represent a single site only. If a site location is selected in the Level Structure panel, search criteria and dashboards will reflect the data associated with that particular site.
Add to Favorites
If you make a level selection, you can Add to Favorites for later use. Your level selection must be highlighted.
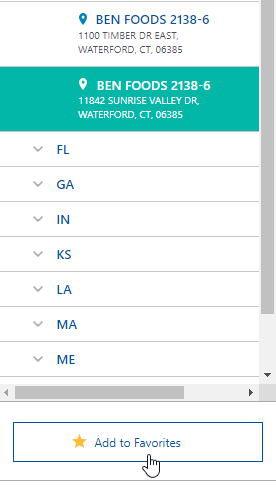
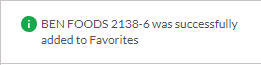
You will see a confirmation message at the top of the panel when your selection is successfully added to Favorites.