Activating and Deactivating Billing Users
Administrators can disable a user's account without permanently deleting their user's profile. For example, you may want to disable an account for an employee who is on maternity or military leave. The benefit in doing so allows you to keep their account without deleting it; therefore, having to recreate it once they return.
![]() Users who have not logged into DataSource will automatically become inactive activity for 90 days, and the administrator will be required to reactivate the user's account.
Users who have not logged into DataSource will automatically become inactive activity for 90 days, and the administrator will be required to reactivate the user's account.
 To access a user's profile, click Account from the Navigation bar, and select the Billing Users tab (if applicable). The user displayed in the User Profile is the user who is currently logged into DataSource.

Activating a User's Account
If an employee has been inactive past 90 days or is ready to return back to work, you must activate the user's account in order to have access to DataSource.
-
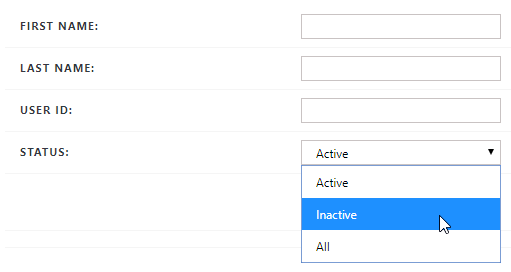
From the User Search panel, select Inactive from the Status drop-down list, and click Search. The inactive users are displayed in the User Search panel.
-
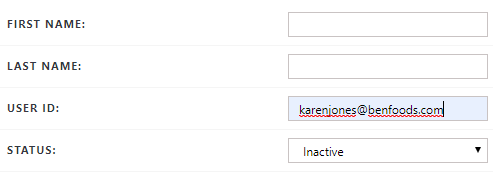
Select the desired user's User ID you want to enable from the User ID column.
-
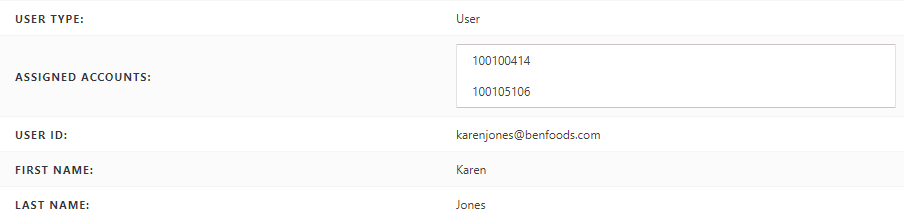
Verify the user you want to reactivate is displayed in the User Profile panel.
-
Click Activate User.

The Are you sure that you wish to activate this user? message appears.

-
Click OK.
The User activated successfully message appears in the User profile panel.

Deactivating a User's Account
When an employee is ready to return to the site, you can disable their user's account without permanently deleting it.
-
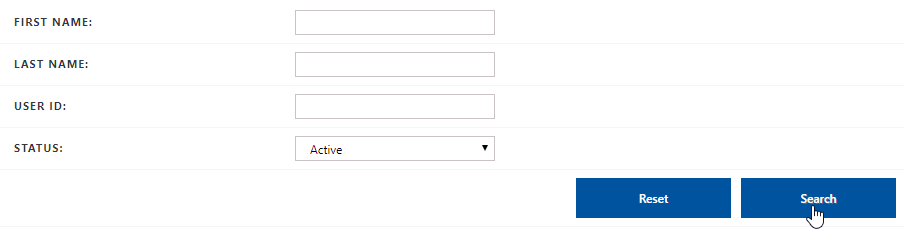
From the User Search panel, select Active from the Status drop-down list, and click Search. The active users are displayed in the User Search panel.
-
Select the desired user's User ID you want to disable from the User ID column.
-
Verify the user you want to disable is displayed in the User Profile panel.
-
Click Inactivate User.

The Are you sure that you wish to inactivate this user? message appears.

-
Click OK.
The User inactivated successfully message appears in the User profile panel.
